How to Brine Chicken: A Step-by-Step Guide
Introduction
If you’ve ever found yourself wondering how to make chicken taste juicier and more flavorful, you’re not alone. Cooking chicken that’s perfectly seasoned and tender is one of the most common challenges home cooks face. With the right brining method, though, even the simplest chicken recipe can taste amazing.
Brining is a simple yet transformative process that can take your chicken from bland and dry to succulent and savory. Whether it’s a whole chicken roast for a family dinner or a quick weeknight chicken breast, brining works its magic across all cuts. In this guide, we’ll walk you through the essentials of how to brine chicken, the science behind it, and everything you need to know to master this essential culinary technique.
Table of Contents
Why Brining Chicken Makes a Difference
Brining is more than just adding flavor; it’s about texture, moisture, and overall satisfaction. Understanding why brining works will give you more control in the kitchen and better results on your plate.
The Science Behind Brining
At its core, brining involves soaking meat in a saltwater solution, which is absorbed into the chicken through osmosis. The salt changes the protein structure in the meat, allowing it to retain more moisture and become more tender. When chicken cooks, it naturally loses some moisture. Brining compensates for this, ensuring you end up with a juicy, flavorful result rather than a dry, chewy one.
Benefits of Brining Chicken
- Flavor Boost: Brining allows seasonings to penetrate deeply into the meat, infusing each bite with rich flavor.
- Tender Texture: The brine breaks down proteins, leading to a tender, melt-in-your-mouth texture.
- Cooking Versatility: Brined chicken works well with any cooking method—whether you’re baking, grilling, or frying.
Types of Brines for Chicken
There are two primary types of brines: wet and dry. Each has its advantages depending on your needs, time, and desired final result.
Wet Brine
Ingredients: Salt, water, sugar (optional), plus any herbs and spices of your choice.
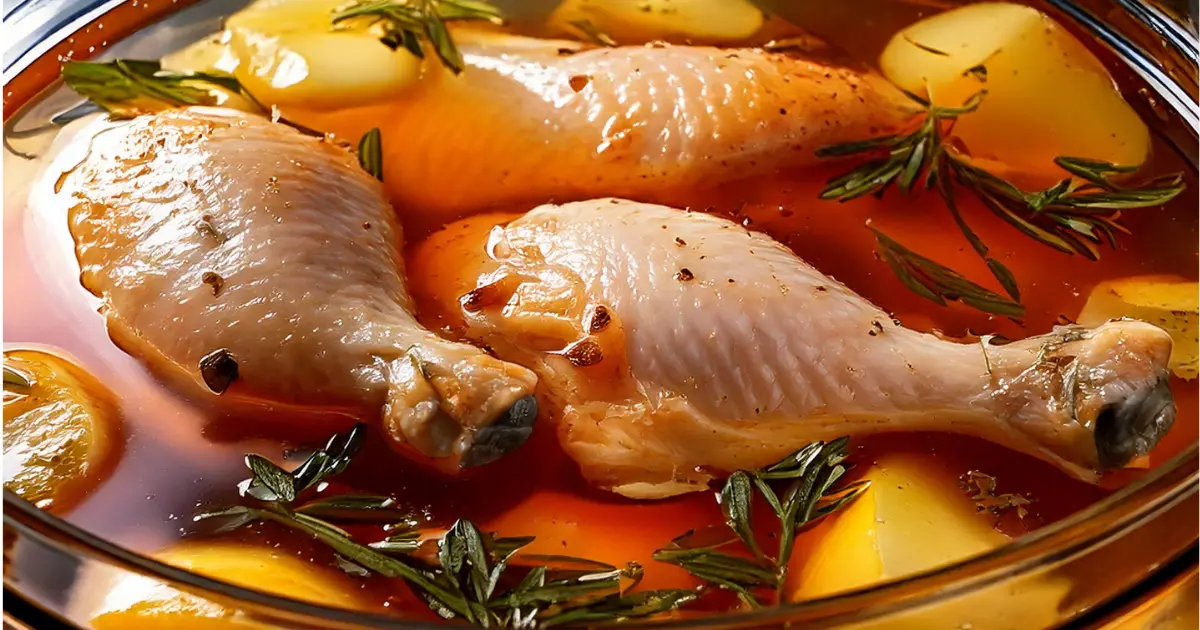
Method: Wet brining involves creating a saltwater solution. Once the salt has dissolved, you can add any seasonings to customize the flavor. Then, submerge your chicken fully in the brine.
Best For: Whole chickens, chicken breasts, or any cut that benefits from extra moisture.
Dry Brine
Ingredients: Salt, and any desired herbs or spices.
Method: A dry brine skips the water and involves rubbing salt directly onto the chicken skin. As the salt sits on the chicken, it draws out some of the moisture, creating a natural brine that gets reabsorbed into the meat.
Best For: Skin-on cuts, especially if you want crispy skin after cooking.
How to Brine Chicken: Step-by-Step Guide
Let’s dive into the details on how to prepare, apply, and cook brined chicken for perfect results every time.
Gather Your Ingredients and Tools
Before you start, gather all the ingredients and tools you’ll need. Here’s a quick checklist to get you ready:
- Chicken (any cut you prefer)
- Salt (kosher salt or sea salt is best)
- Water (for a wet brine)
- Optional: sugar, garlic, herbs, spices
- A large container to hold the chicken and brine
- Refrigerator space to store the brining chicken
Brine Ratios for Different Chicken Cuts:
| Chicken Type | Salt (per 1 quart water) | Brine Time |
| Whole Chicken | 1/4 cup | 8-12 hrs |
| Chicken Breast | 1/4 cup | 2-4 hrs |
| Thighs/Wings | 1/4 cup | 4-6 hrs |
Preparing the Brine Solution (Wet Brine)
- Dissolve the salt in water. You can warm the water slightly to help the salt dissolve more easily, but make sure it’s cooled to room temperature before adding the chicken.
- Add flavorings like garlic, lemon slices, thyme, rosemary, or peppercorns for extra flavor.
Applying the Brine (Wet Brine Method)
- Submerge the chicken completely in the brine solution, ensuring it’s fully covered.
- Cover and refrigerate. The amount of time needed depends on the chicken cut; follow the chart above for guidance.
Applying the Brine (Dry Brine Method)
- Rub salt and any desired seasonings over the chicken skin, making sure to coat all sides.
- Place the chicken uncovered in the refrigerator for a few hours, or up to overnight.
Rinsing and Preparing Chicken for Cooking
- For wet-brined chicken, rinse the meat to remove excess salt, then pat dry.
- For dry-brined chicken, no rinsing is necessary; just pat dry before cooking.
Brining Times for Different Chicken Cuts
The time you let the chicken brine is crucial. Over-brining can lead to overly salty or mushy meat, so stick to the suggested times below for the best results.
Whole Chicken
- Wet Brine: 8-12 hours
- Dry Brine: 6-8 hours
Chicken Breasts
- Wet Brine: 2-4 hours
- Dry Brine: 1-2 hours
Chicken Thighs or Wings
- Wet Brine: 4-6 hours
- Dry Brine: 2-3 hours
| Chicken Cut | Wet Brine Time | Dry Brine Time |
|---|---|---|
| Whole Chicken | 8-12 hours | 6-8 hours |
| Chicken Breast | 2-4 hours | 1-2 hours |
| Thighs/Wings | 4-6 hours | 2-3 hours |
Cooking Brined Chicken: Best Practices
Brining changes the flavor and moisture levels in your chicken, which can slightly affect cooking techniques. Here’s how to get the best results.
Adjusting Salt Content
Since the chicken has already absorbed some salt during the brining process, go light on any additional salt in your cooking seasonings.
Ideal Cooking Methods for Brined Chicken
- Roasting: Brined chicken tends to get a beautifully crisp, golden-brown skin when roasted. To achieve this, pat the skin dry before cooking, and add a bit of oil or butter.
- Grilling: Brined chicken grills wonderfully. The moisture retention means you’re less likely to end up with a dry result, even with high-heat grilling.
- Frying: Brining can even help with fried chicken, giving you a seasoned, flavorful crust. Be sure to pat the chicken dry to prevent oil splattering.
Resting and Carving Brined Chicken
After cooking, let your brined chicken rest for about 10 minutes (for smaller pieces) or up to 15-20 minutes (for whole birds). This helps the juices redistribute for an even more tender and juicy result.
Common Brining Mistakes to Avoid
Even though brining is simple, a few common mistakes can get in the way of perfect results:
- Over-Brining: Leaving the chicken in brine too long can lead to overly salty or mushy meat.
- Not Rinsing (for Wet Brine): Rinsing helps wash off excess salt.
- Brining at Room Temperature: Always brine in the refrigerator to ensure safety.
FAQ on How to Brine Chicken
How long should you brine chicken?
The time varies based on the cut. Whole chickens need 8-12 hours for a wet brine, while smaller cuts like breasts only need 2-4 hours.
Is it safe to brine chicken overnight?
Yes, as long as it’s kept in the refrigerator.
Can you reuse brine?
It’s generally not recommended. Brine that has been in contact with raw chicken should be discarded for safety.
What’s the best salt for brining chicken?
Kosher salt is ideal. Table salt can be too fine, resulting in overly salty brine if used in equal amounts.
Conclusion
Brining is a simple yet powerful way to elevate the flavor and juiciness of chicken, transforming even basic recipes into something unforgettable. Whether you choose a wet or dry brine, you’ll find that this method makes all the difference. Now, with these tips in hand, you’re ready to start brining and take your chicken dishes to the next level.


